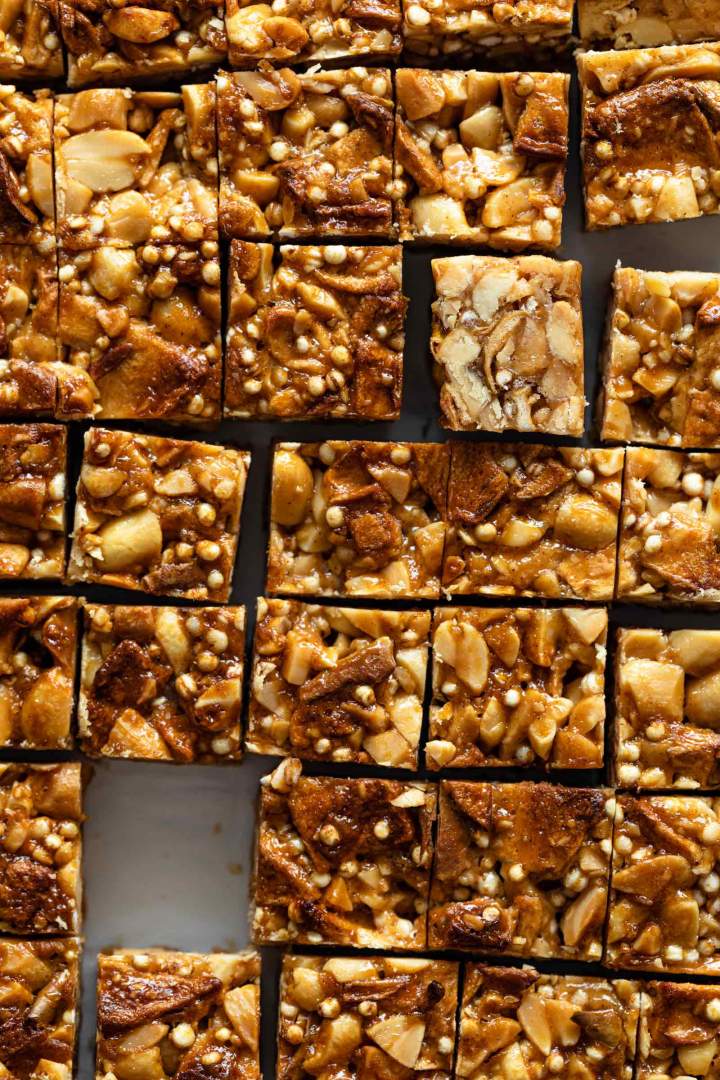
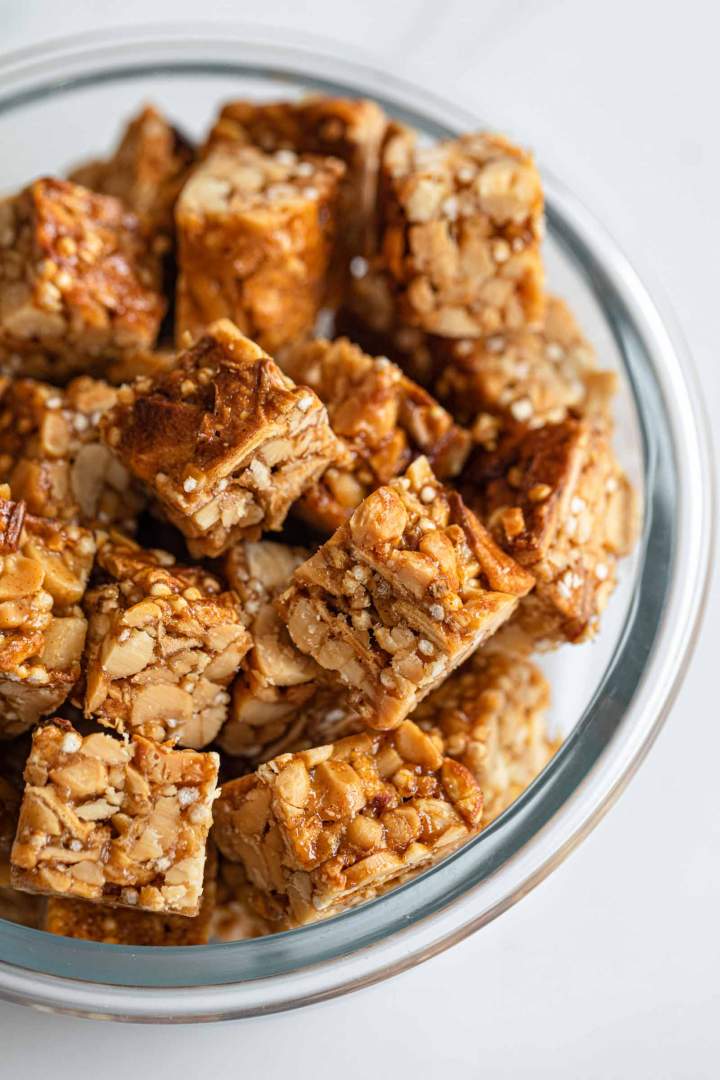
Fantastic quick snack - Peanut Butter Nut Clusters
I am so happy that we found Pamela Reif and her Naturally Pam products online. This recipe is inspired by her Nut Clusters, and these are the top reasons why we love it so much:
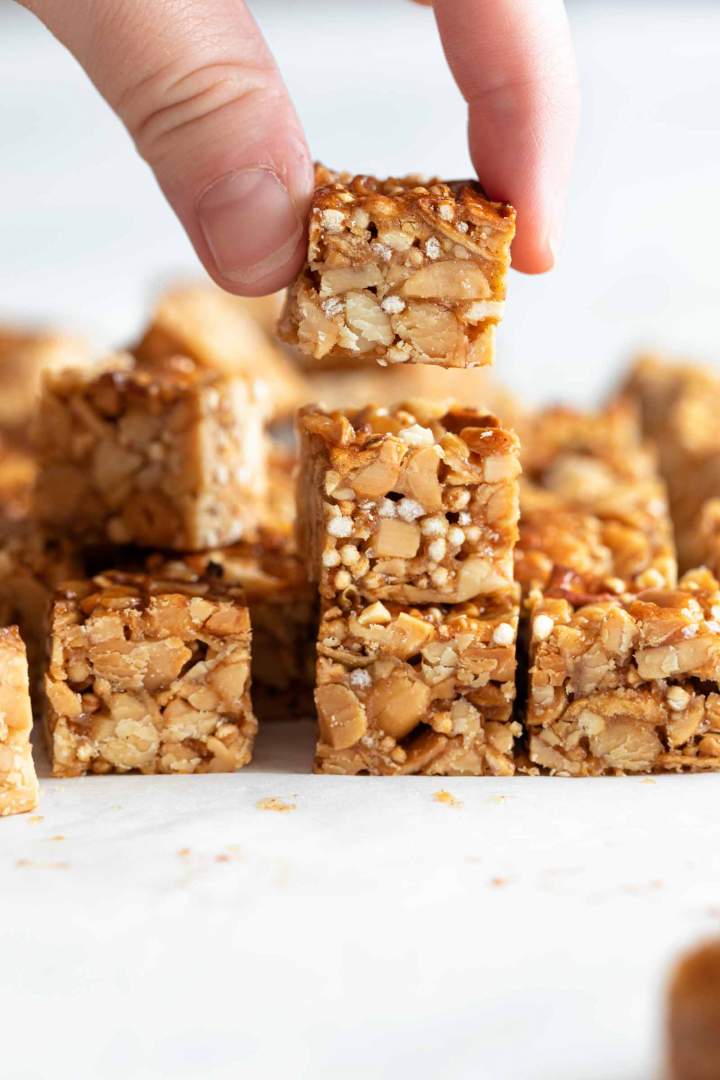
- the exterior is crunchy, while the interior is sticky (in a good way)
- sweet, but not overly sweet, the sweetness doesn't dominate over other flavors
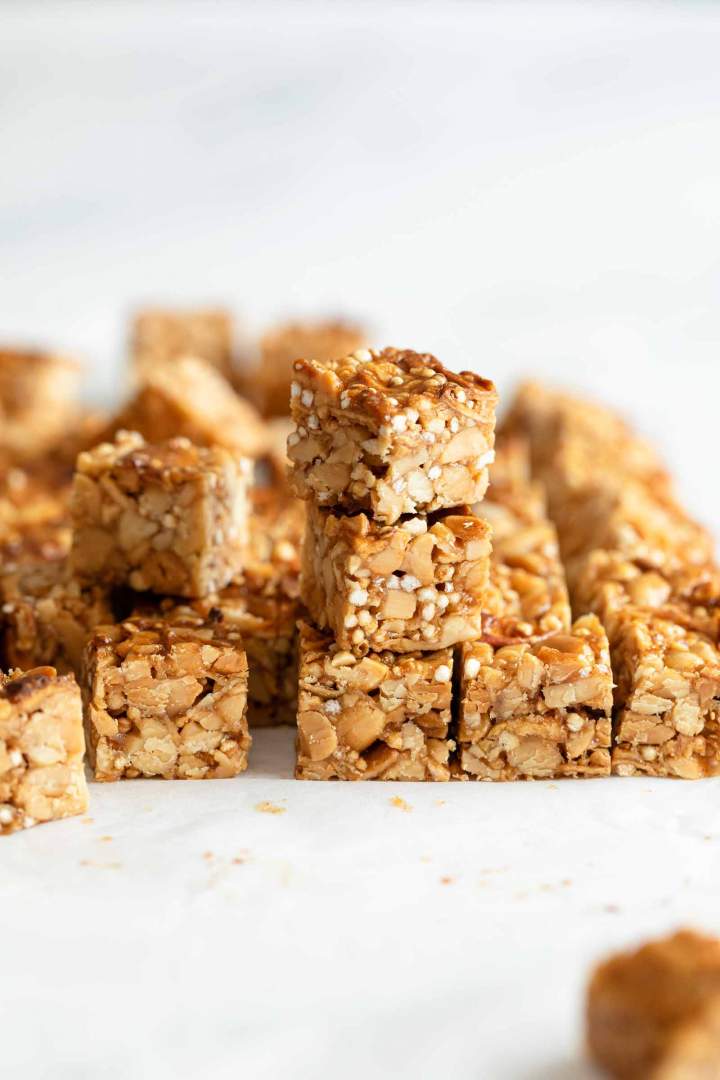
- a beautiful combination of creamy peanut butter, crunchy nuts, puffed quinoa, fruity apple chips
- one nut cluster has only 37 calories
- these are great for anyone who is vegan or follows a gluten-free, dairy-free diet
- quick 20-minute recipe for a delicious everyday snack
- feel free to store them at room temperature or freeze them for later
How to make Peanut Butter Nut Clusters at home
These Peanut Butter Nut Clusters are currently our favorite snack. They are quick and easy to make; you simply follow these steps:
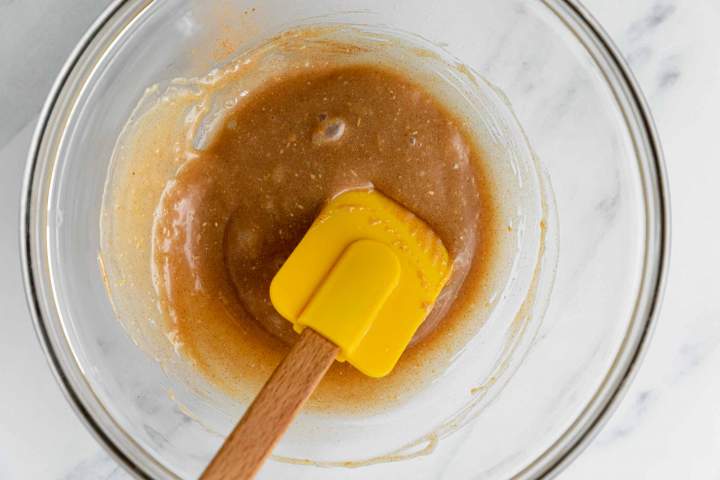
- In a bowl, stir to combine all the ingredients
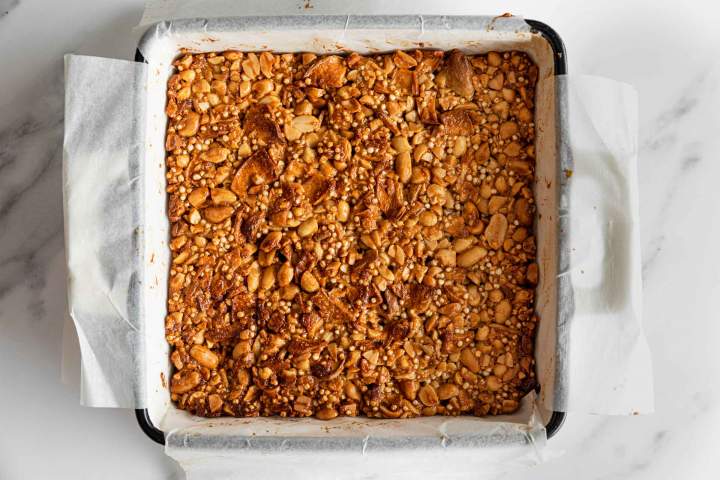
- Using a spatula, spread the mixture over the prepared baking dish
- Bake in an oven for 15 - 20 minutes
- Set aside for the mixture to cool, then cut into cubes
- Serve or store in an airtight container
Essential ingredients and how to make them your own
You will find the whole list of ingredients and the method below. There are only 7 ingredients in this recipe. They are all essential to make the recipe work, but there are some possible substitutes and ways to make these clusters your own.
Peanut butter - Use unsalted creamy peanut butter. We don't usually recommend using salted peanut butter because it can quickly make the clusters too salty. However, if you have it in your pantry, go ahead and use it, but be careful when adding the salt.
Rice syrup - is not overly sweet, it has a good consistency, and it's pretty neutral when it comes to flavor. Corn syrup would be a good substitute too.
Cinnamon powder - cinnamon, apples, and peanut butter are a match made in heaven.
Salt - season to taste. Thanks to salt, everything tastes even better.
Peanuts - use roasted, unsalted peanuts. Same as with the peanut butter, using salted roasted peanuts could make these clusters too salty.
Apple chips - add a wonderful, fruity, slightly sweet flavor to the clusters. We used these apple chips from Kotanyi.
Puffed quinoa - helps with the volume of the nut clusters. Feel free to substitute with puffed buckwheat or puffed rice.
POSSIBLE ADD-INS
Chocolate coating - Make a simple chocolate coating by melting dark chocolate in your microwave or over a water bath on the stove. Dip half of the cooled nut cluster into the chocolate, transfer to a wire rack, and wait for the chocolate to cool.
Cacao nibs - Feel free to add some cacao nibs to the mixture. They would add a delicious cacao aroma and extra crunchiness.
Coconut chips - Chop the coconut chips and add to the mixture for some sweet nuttiness.
A few ideas when and how to serve these nut clusters
Here are some ideas about when and where to serve these delicious, crunchy Peanut Butter Nut Clusters.
- take them with you to work or school
- they are a great hiking snack and great for picnics
- a quick snack while commuting or going on a trip
- serve them with coffee or tea in the afternoons
- a quick snack during a week when you are super busy
How to store Peanut Butter Nut Clusters
We can store these Peanut Nut Clusters in two ways.
Add the Peanut Butter Nut Clusters to an airtight container or a glass jar. Seal the container or the jar and keep it at room temperature for up to 3 weeks.
You can freeze these too. Place the cluster cubes in a freezer bag. Keep them in the freezer for up to 2 months. Before serving, defrost at room temperature.
Try these amazing nut recipes too

